With travel season just around the corner, this guide will come in handy for you to get your trips organized. Apart from travel, you can definitely leverage these tips for your daily life too. For Type As like myself, these tips have helped organize my trips and life in more ways than one.
Planning Before A Trip
🤳🏻 Passport / ID Photos
Renew your passport photo from the comfort of your home like a pro. Use a tripod to take your photo on iPhone in good lighting, ensuring nothing is covering your face and make sure your iPhone is set to Light mode. Tap and hold on the subject of the image to lift it from the background, tap ‘Copy’ and paste the image into a new note in the Notes app.

In the Notes app, snap a screenshot and open it in Photos. Tap ‘Edit’ and ‘Crop’ to Square mode by tapping the overlapping rectangular icon on the top right. Shift the photo around to ensure you capture the portion required for your passport photo. Tap ‘Done’, and your new ID photo is ready to be used!
✅ Pack Like a Pro
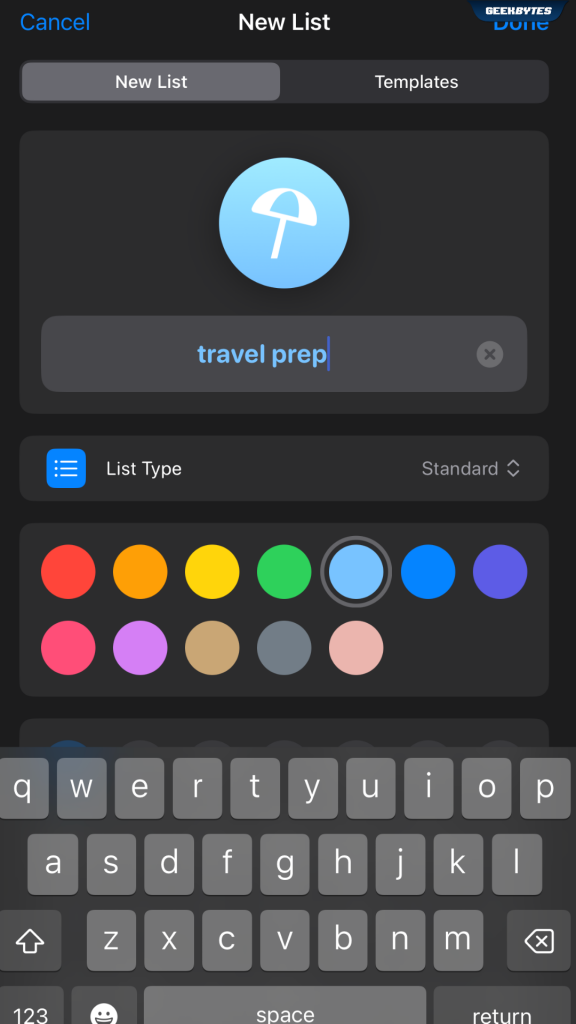
Come up with your own packing list template from an existing list in the Reminders app to easily duplicate for future trips.

Create or select an existing list in the Reminders app, and tap the 3 dots on the top right. Select ‘Save as Template’, rename it and hit ‘Save’.
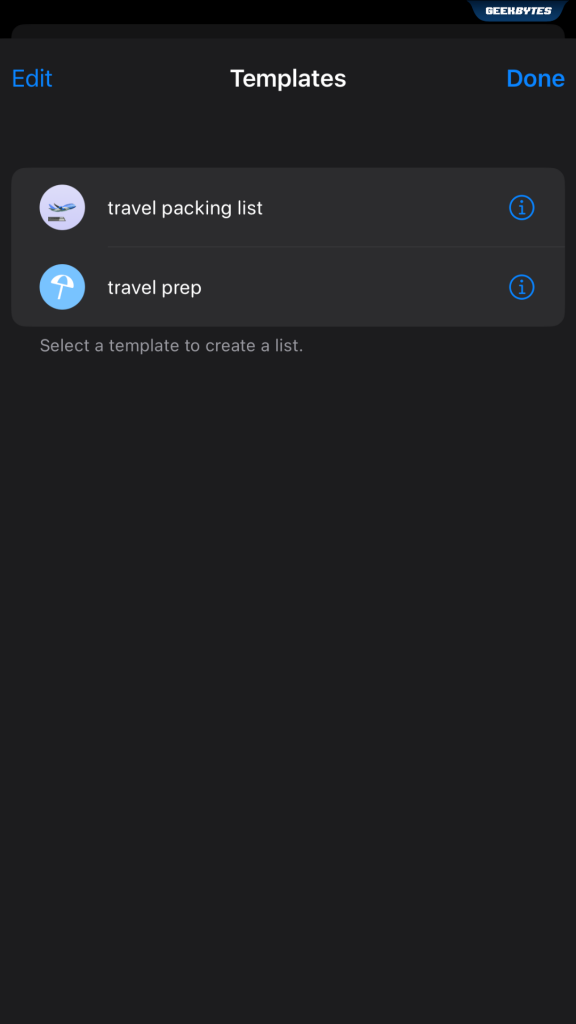
Once it’s saved, tap the overlapping squares icon to easily access your Templates. Select the template you want, rename it and hit ‘Create’. Now, you can easily create lists from templates you’ve created without worrying the data would be written over.
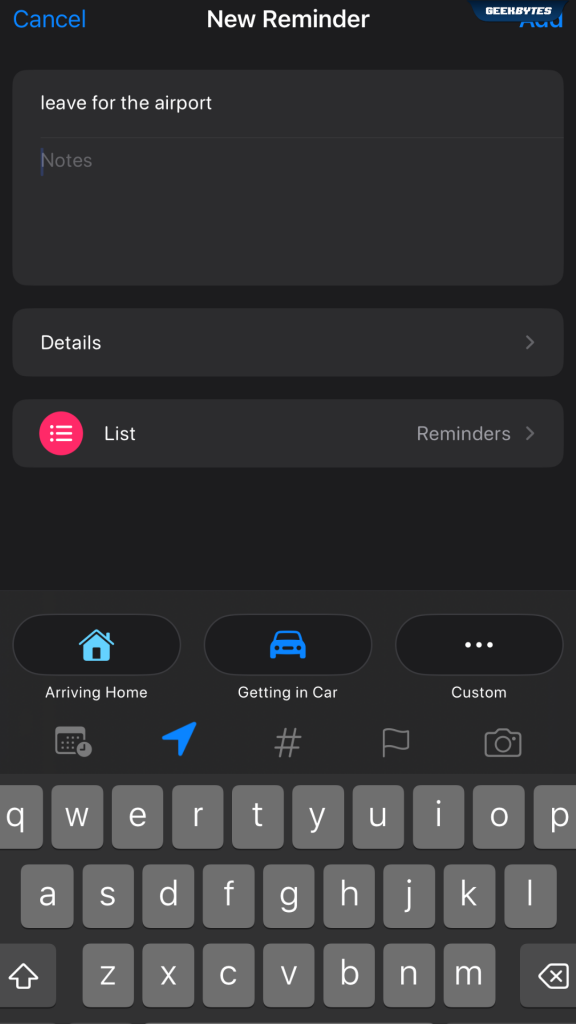
You can also easily add a location to your Reminder by tapping the Location icon to assign a notification based on where you are. You can also set a due date, add a tag, or attachment like a photo.
📍 Create & Share Personalized Guides
Before your trip, you can create and customize a guide in Apple Maps to help you navigate a new city. These guides can be shared with your travel mates with a tap of a button, and you can also download Maps on your iPhone to refer to in places where your reception may be wonky.
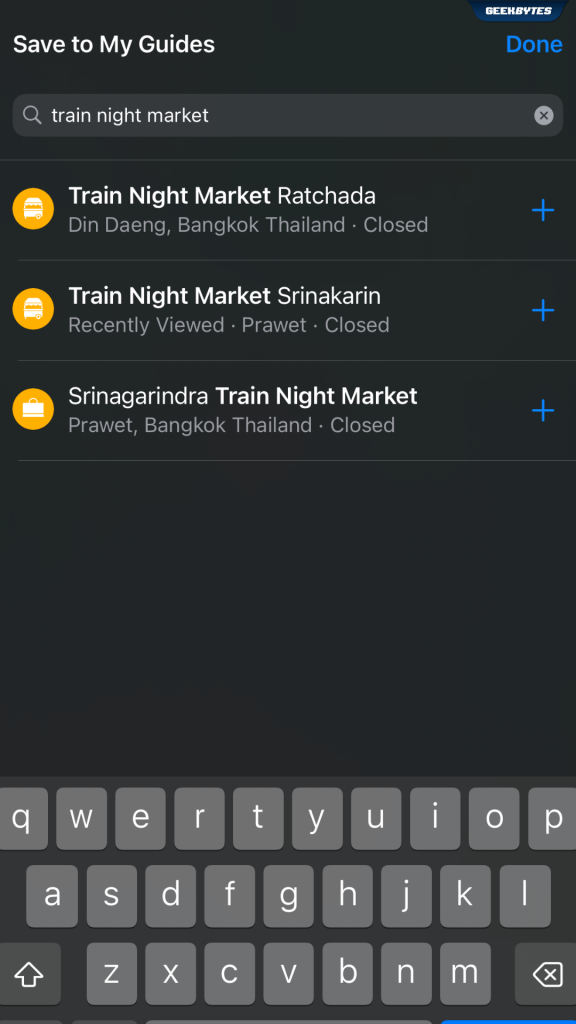
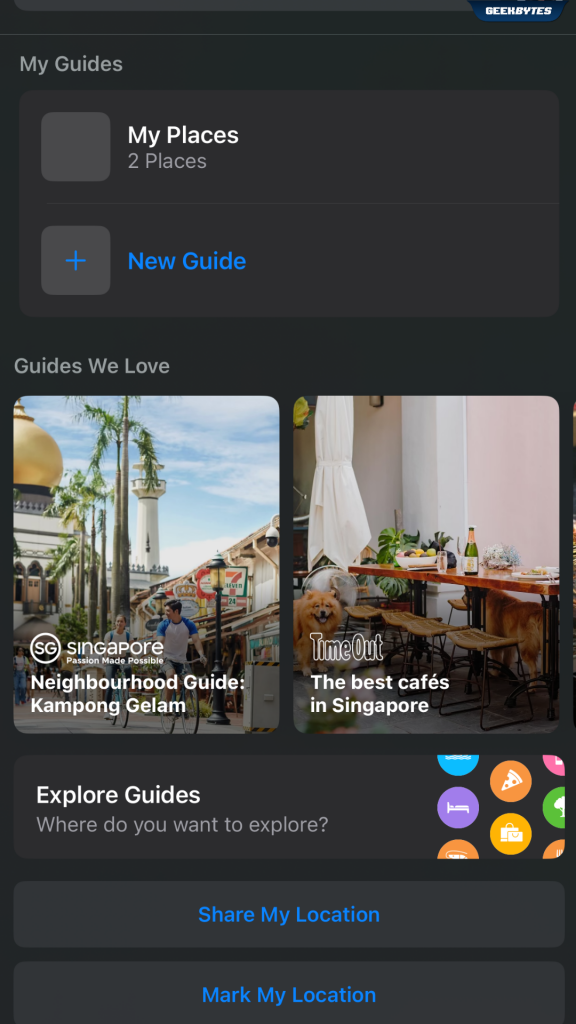
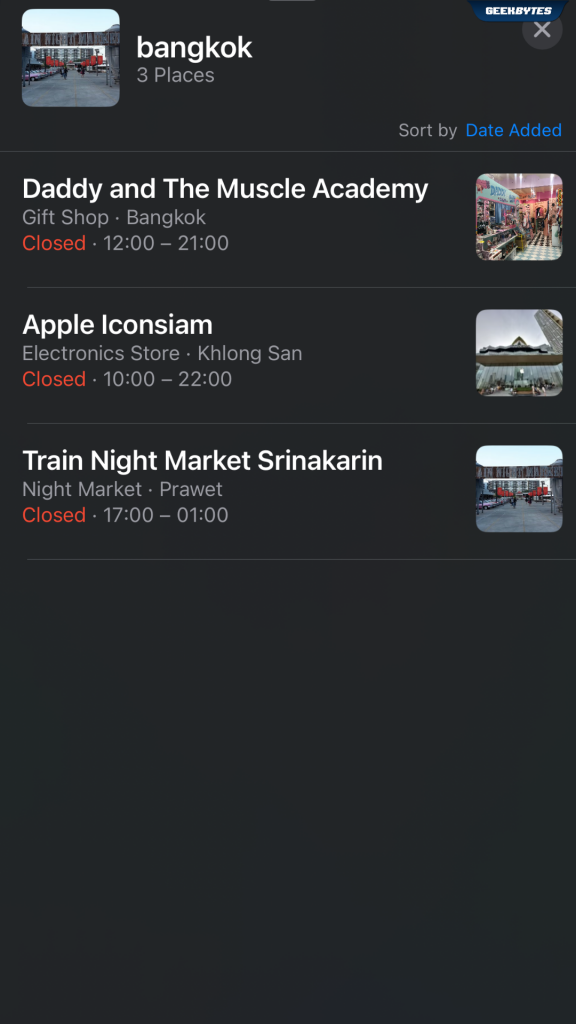
In Apple Maps, scroll down to the My Guides section and tap ‘New Guide’. After customizing the Guide name and photo, add a place by tapping the plus sign on the bottom right and typing in the location. Tap the + sign to add it and hit ‘Done’.
Share the guide with your friends by tapping your picture at the top right of the search card in Maps > ‘Guides’ > Tap the Share icon.
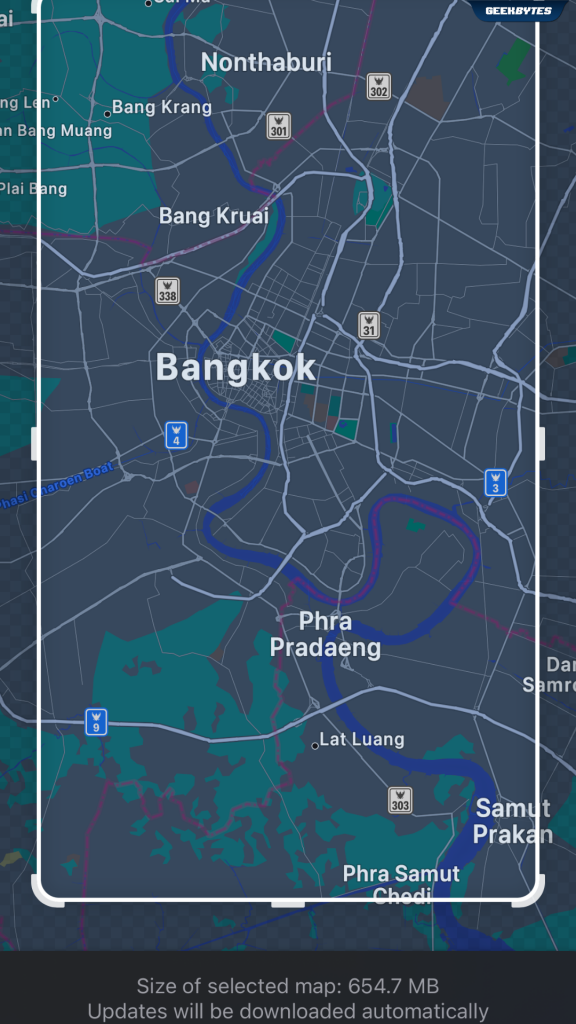
🗺️ Download Offline Maps
In iOS 17 and later, you can leverage Offline Maps for information and navigation even without reception. Save a detailed map of a selected area, search for the name of the area and tap ‘Download’. You can also adjust the size of the area on the map to optimize storage space.
While On-The-Go During Travel
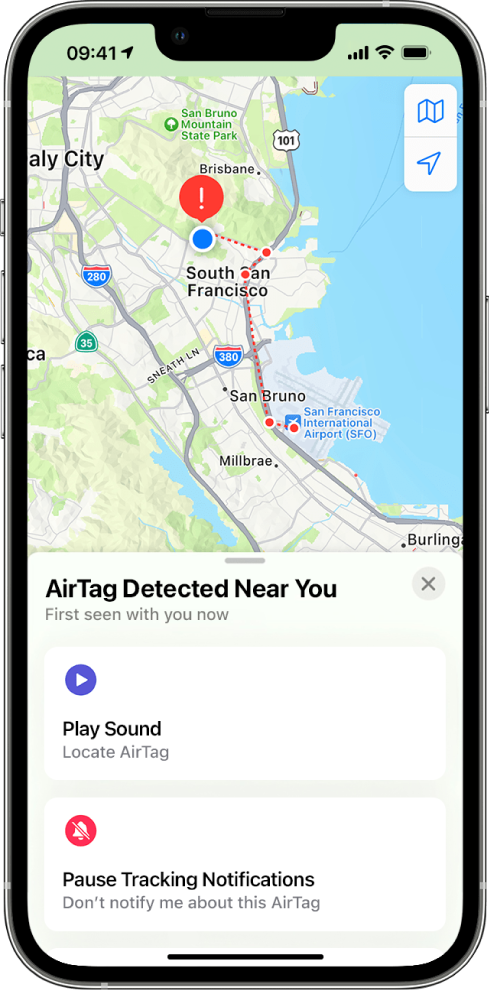
🧳 Share your AirTag
Easily share your AirTag with your loved ones so they can help track your luggage or other important items. Add the AirTag by bringing it near your iPhone, tap ‘Connect’ and customize its name. Register it with your Apple ID. Under ‘Items’, tap the item you want to share and tap ‘Add Person’. You can share each item with up to 5 other people.
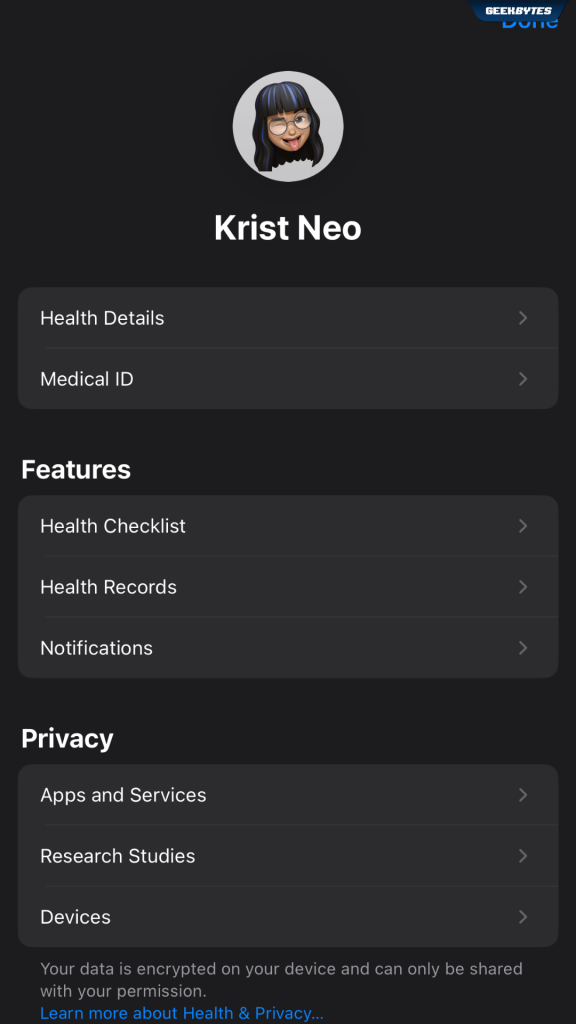
🆘 Be Prepared for Emergencies
Ahead of your trip, ensure that your Medical ID is set up and emergency contacts are added. Open the Health app and tap your profile picture in the top right corner. Select ‘Medical ID’, tap ‘Edit’ and fill in your pertinent information and emergency contacts. You can also toggle your Medical ID to be accessible from a Locked screen.
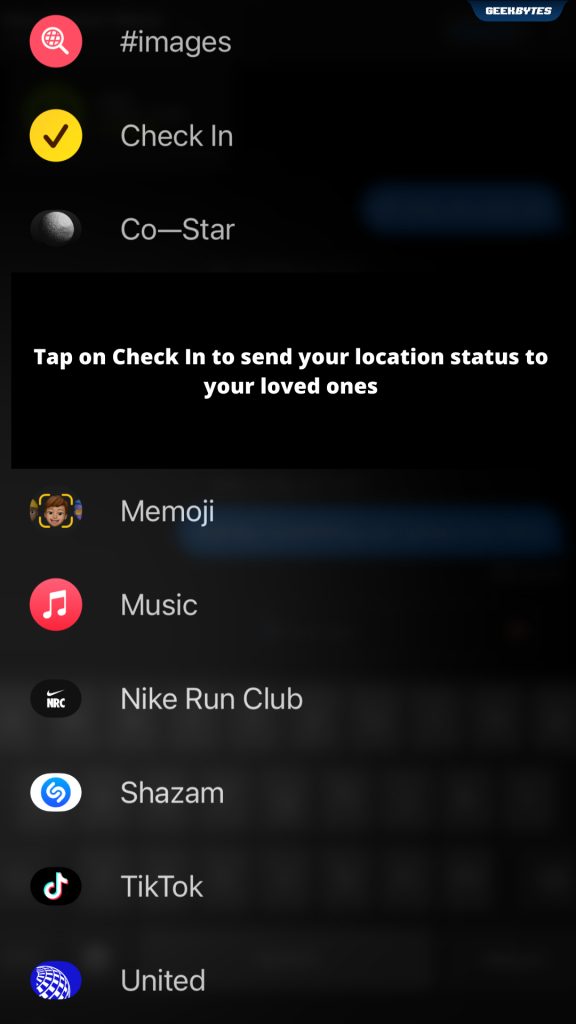
✔ Check In to Let Your Loved Ones Know You’re Safe
In the Messages app, tap the + sign on the bottom left of a conversation. Tap ‘More’ > ‘Check In‘ > ‘Edit’ to add details. You can select ‘When I Arrive’ or ‘After a timer’ and tap send. Both devices will need to be on iOS 17 or later.
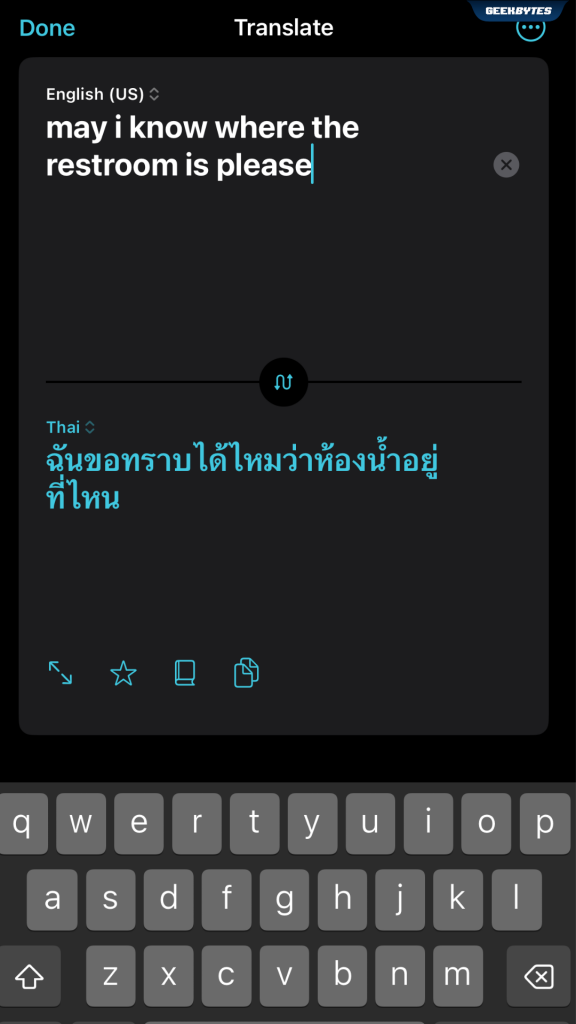
🚏 Translate Like a Boss
Use the Translate app as your personal interpreter when navigating foreign cities. Select the languages, add text or tap the microphone icon and the app will help automatically translate for you. If you need to translate words such as a menu, open your Camera app, select languages and point your iPhone at the text. The app will help translate in real time as you move the camera around.
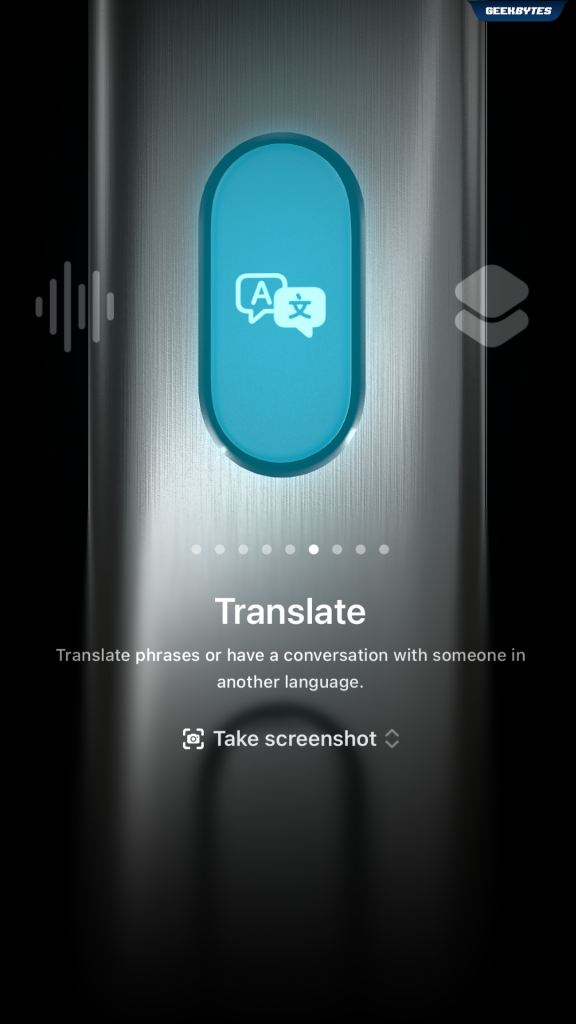
For faster navigation to the Translate App, you can toggle your Action button to quickly open the app.
Relive Your Travel Memories
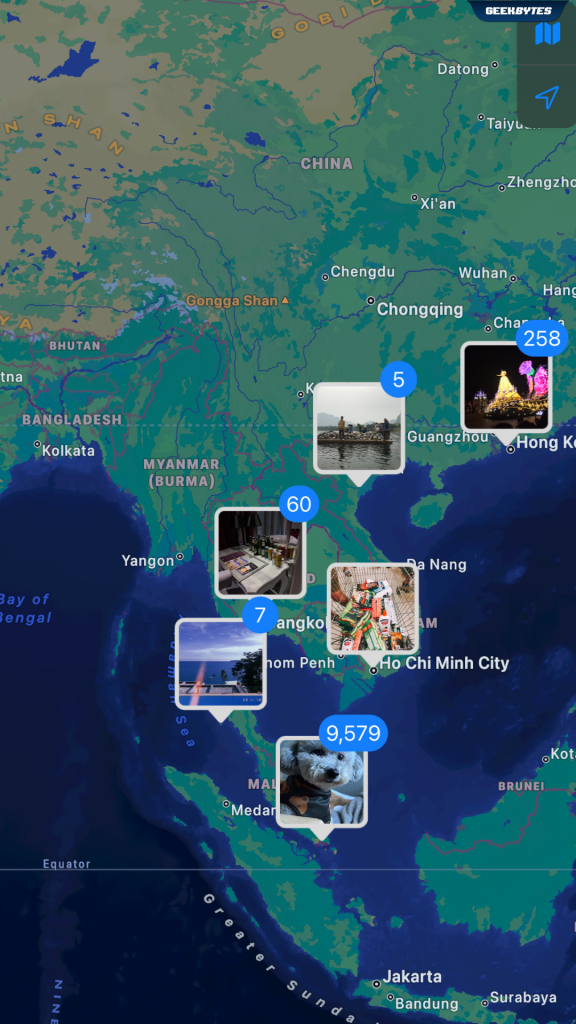
👀 Look for a Photo in Places
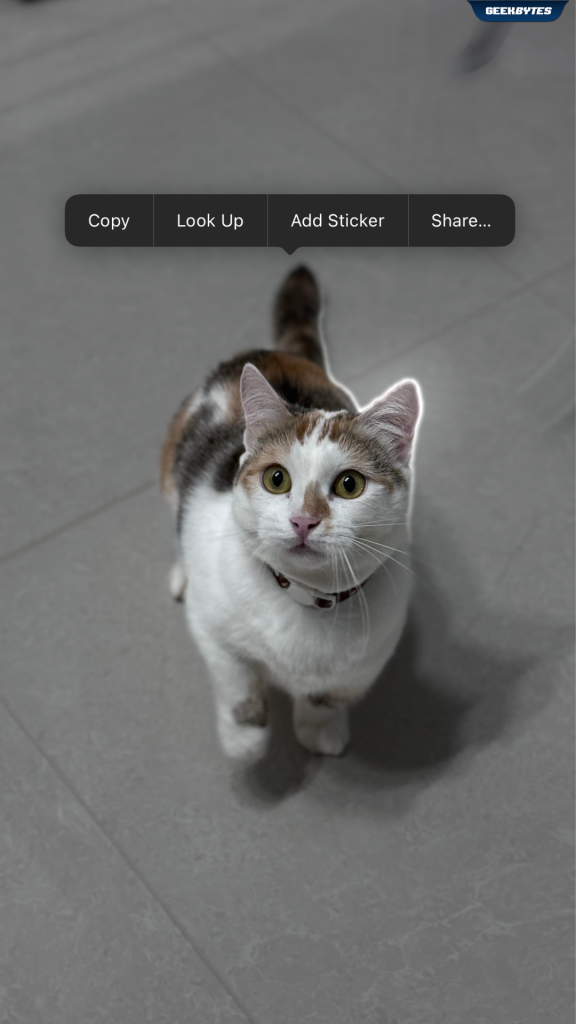
When recounting your travels to your loved ones, you’d often want to pull up photos to illustrate your stories. In the Places album, browse photos by location and see all the photos you’ve taken there. You can also leverage Visual Look Up to quickly identify landmarks, food, art and more as you explore a new city. On the photo, simply tap the Info icon > ‘Look Up’ to learn more.
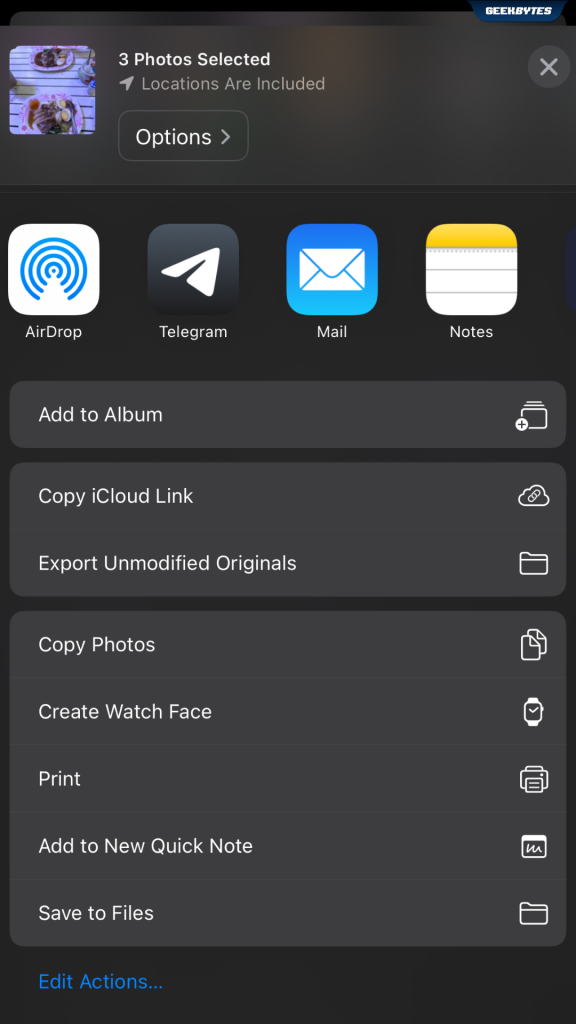
🔗 Share Hi-Res Images via iCloud Link
In the Photos app, tap the photos you want to share in a high-res file format. Tap the ‘Share’ options and select ‘Copy iCloud Link’. Paste the link to share the photos via Messages, or however you prefer.
That’s all from us! We hope this guide comes in handy for your upcoming trips. Safe travels, and stay organized! ✈️