I’ve always been using Procreate based on what I figured out on my own, and I know that I’ve been under utilizing it. I recently attended a workshop with incredibly talented artists at the helm – and boy, I learnt so much.
Procreate houses the most powerful and intuitive illustration and animation tools within the app. Having bagged three coveted Apple Design Awards through the years, the app was made for professionals, studios, and beginners alike.
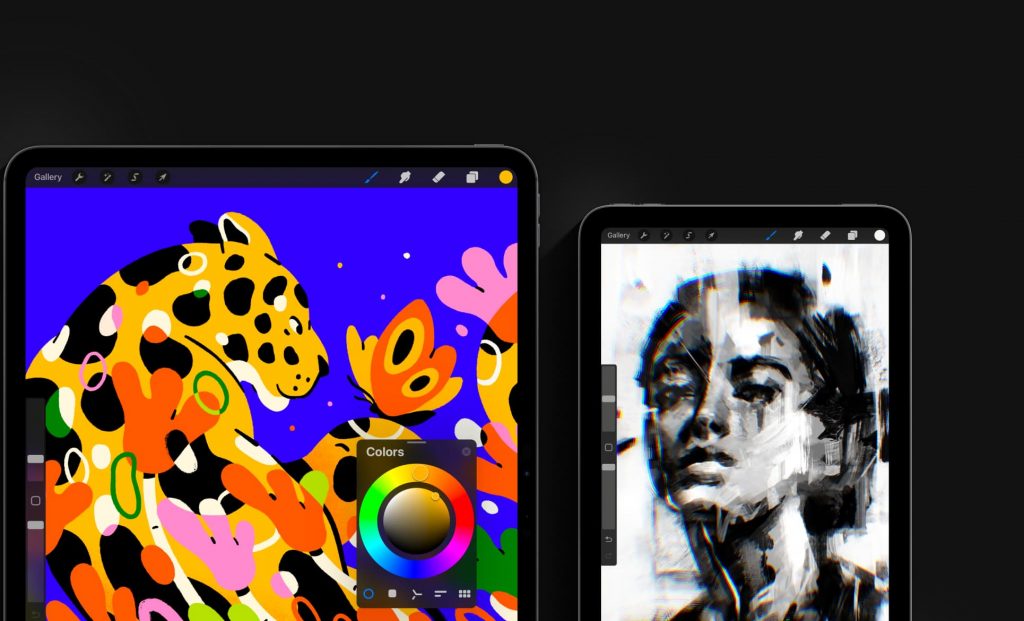
Source: Procreate
Being in a room filled with talented local artists and illustrators sparked something in me. I’ve always believed that anyone can be an artist – just not me. Coincidentally, Procreate’s ethos is also that “Art is for everyone.”. How then, does one master the different tools on Procreate, and create illustrations, 3D drawings, and more? Armed with my iPad Air with M2 chip and Apple Pencil Pro, I was ready to learn.
Thai Artist, Binko, imparting valuable Procreate skills to the room
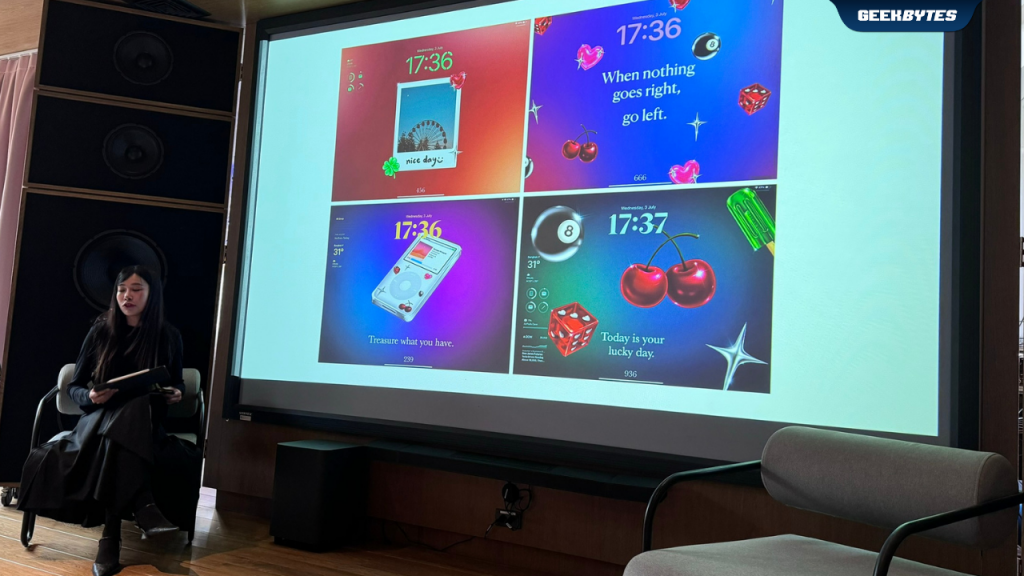
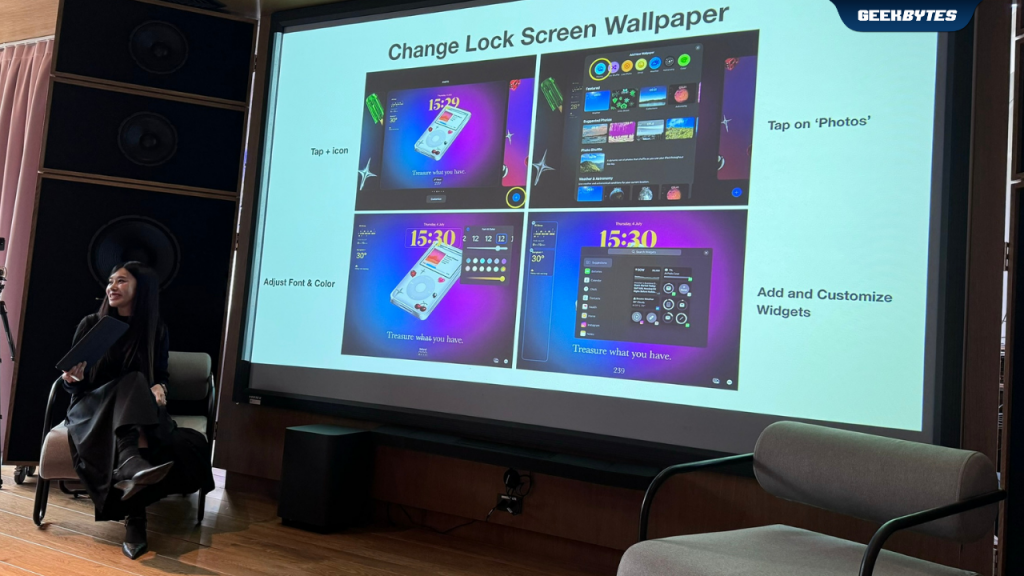
Tip #1: Create Your Own Lock Screen
Ever wanted to personalize your iPad Lock Screen, but had no idea how beyond choosing your favorite photos? Binko, a renowned Thai artist, showed us how easy it was to get started.
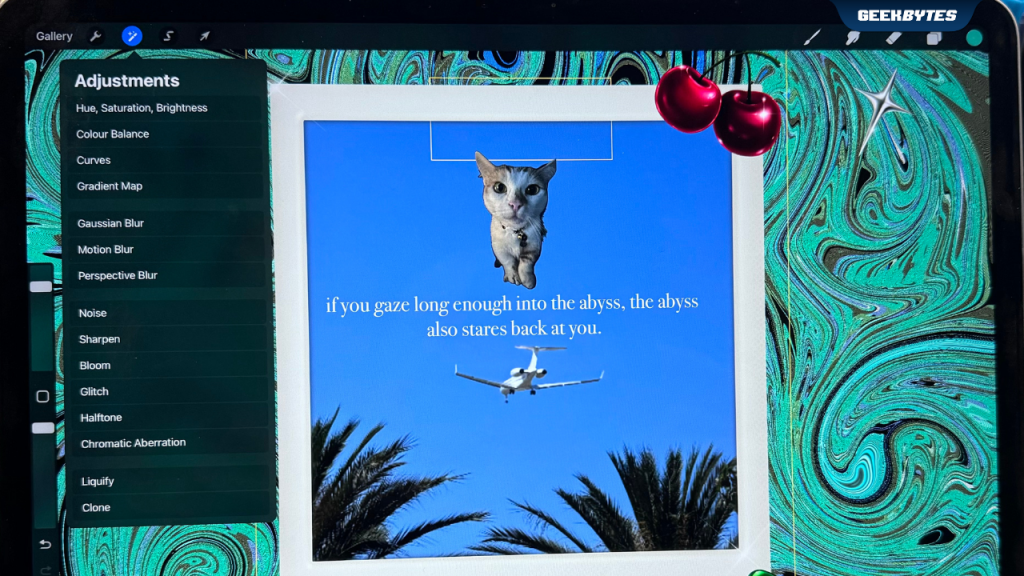
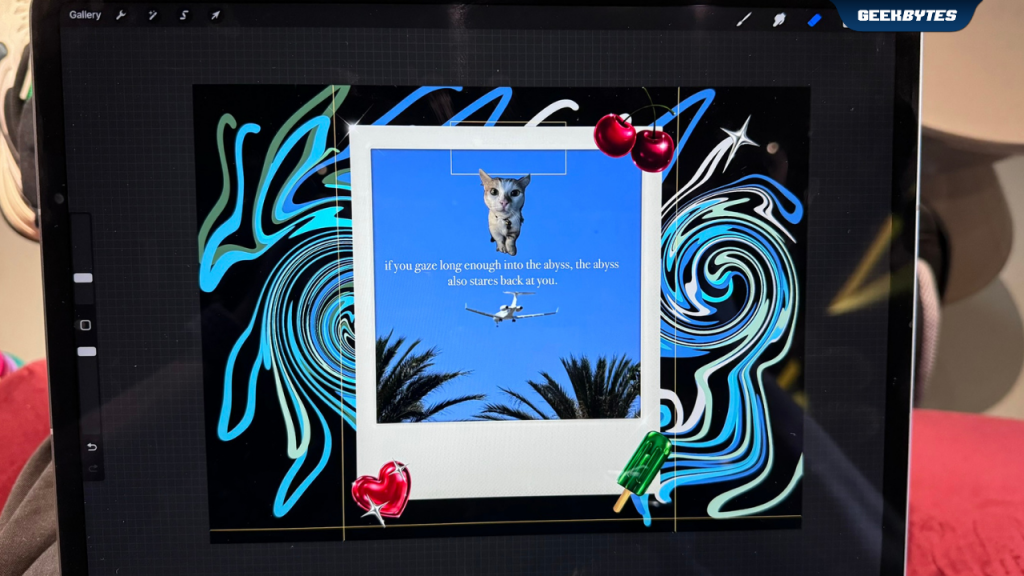
She took us through the basics of blending different colors, and how to create marbling and textured effects in Procreate. Draw some strokes and patterns of your choice on the first layer, and tap on Adjustments where you get to play with different textures such as Liquify (which gives you a marbling effect), Halftone (which gives you a nicely textured effect), and more. Leveraging Apple Pencil Pro‘s latest function, barrel roll, we were able to easily liquify our backgrounds.
Binko prepared a few color palettes and elements for us to download, and we learnt how to layer different elements on a textured background we just created.
Creating your own wallpaper allows you to highly personalize your own Lock Screens without it looking like one of another.
Thanks to Binko, all of us walked away with our very own textured wallpapers at the end of the session!
André Wee, a Singaporean artist, sharing helpful tips to master Procreate
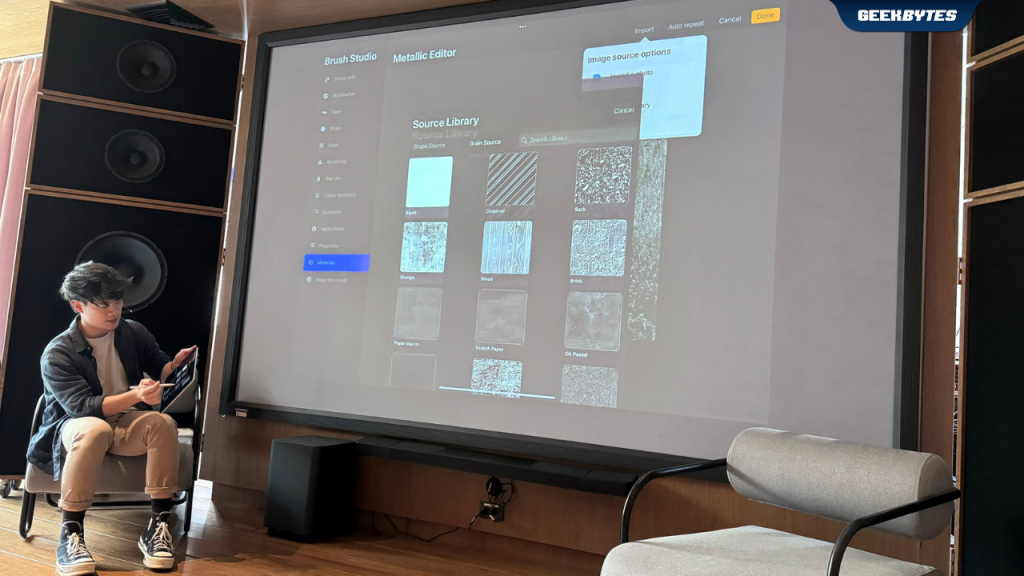
Tip #2: Create Your Own Brushes
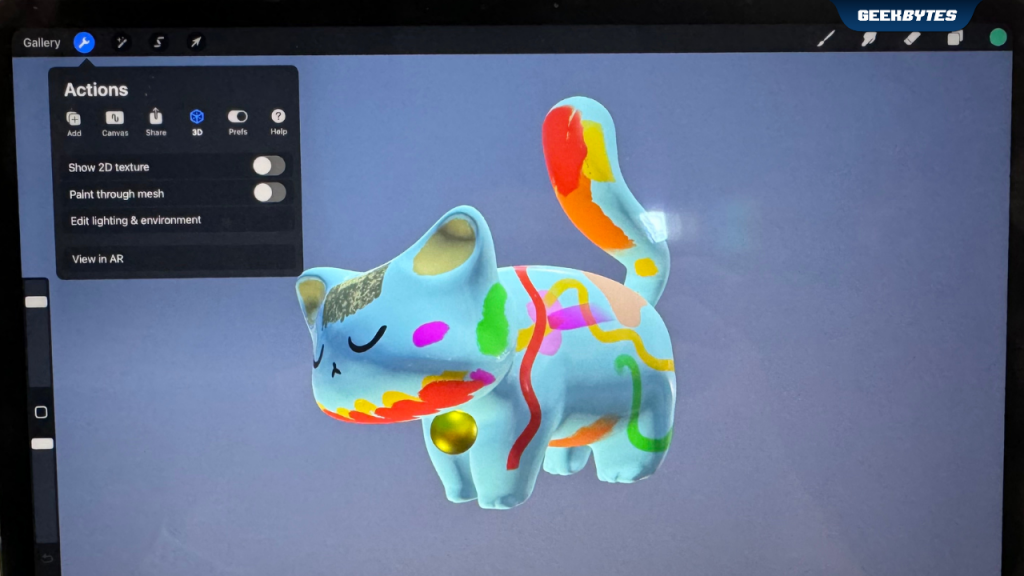
The second part of the session was helmed by the incredibly talented André Wee, an artist from Singapore. He brought us into the world of experimenting with 3D art, and taught us how to create our own brushes to introduce depth to our art. We tried changing the overall texture of the 3D model with our own metallic brushes.

How To Create Your Own Brush:
Tap on the Brush icon to bring up the Brush Library. Select the brush you want to modify, and swipe left and Duplicate it. This will ensure that the original brush settings are preserved. Tap on the duplicated brush, and experiment with how you’d like your brush to look like. When you’re happy with it, hit Done.
With our newly created brushes, we decorated our 3D cat art (which André prepared for us beforehand). The creation of our own brushes brought an incredible amount of texture to our artwork on Procreate and showed us a different way to interact with Procreate tools. We tried changing the overall texture of the 3D model with our own metallic brushes.
Pro-tip: With every new element / style you want to implement, create a new layer on Procreate. This will ensure that your original artwork is untouched while you add on more to the masterpiece.
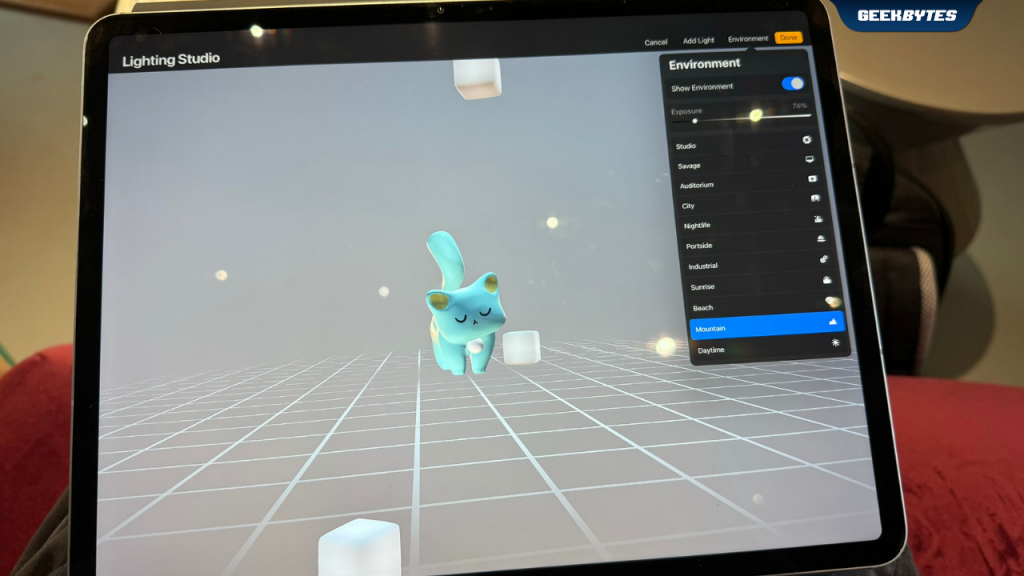
In Lighting Studio, we were able to play around with how different lightings and environments will reflect off our 3D cat.
How to open Lighting Studio:
Tap on the Wrench icon on the top left. Tap on Edit lighting & environment, and voila!
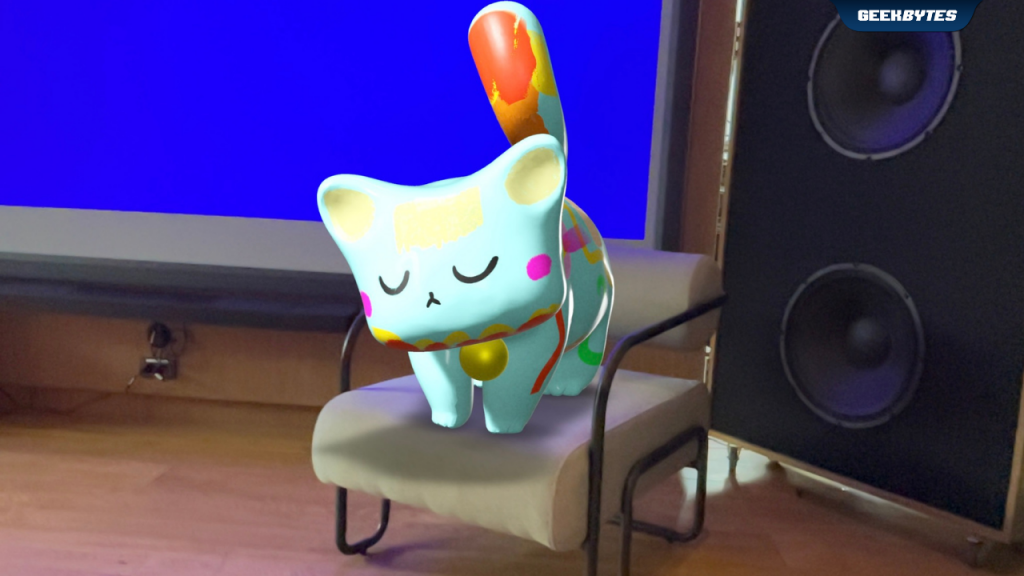
After playing around with different brushes, André showed us how we could view our 3D cat in our physical environment. Tapping on the Wrench icon, 3D and View in AR allowed us to bring our cat to live. We had so much fun placing our 3D cat on different surfaces – always start by aiming the iPad’s camera at a flat surface.
Tip #3: Don’t be Afraid to Experiment
No, really. I was not skilled at Procreate at all, but I walked away believing that I could be an artist too. All you have to do is start, I mean, look at the eclectic 3D cat I created with André’s expert guidance. It was so fun to learn how to decorate a 3D art and have it come to live.
Get Procreate on your iPad and have fun with it, using your Apple Pencil Pro!
If you’re already proficient at Procreate, you might want to get Procreate Dreams. An animation app jam packed with powerful tools that anyone can use, you can create rich 2D animations on iPad.
Source: Apple
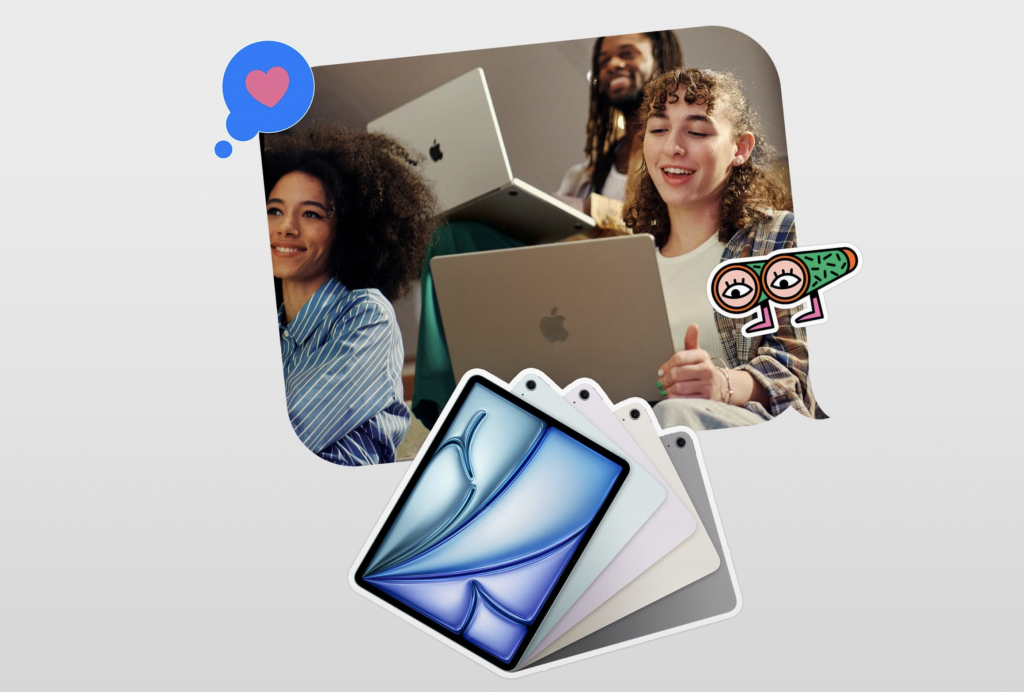
Apple’s Back to School Offer
If you don’t already own an iPad or Macbook, Apple is currently running its Back to School offer from now till 30 Sep 2024. Educators and students can look forward to 20% off AppleCare on top of discounted education pricing on Mac and iPad. What’s more, this includes the all new iPad Air and new MacBook Air.
Source: Apple
Check out more about Apple Pencil Pro here, and everything you need to know about the all new iPads here.